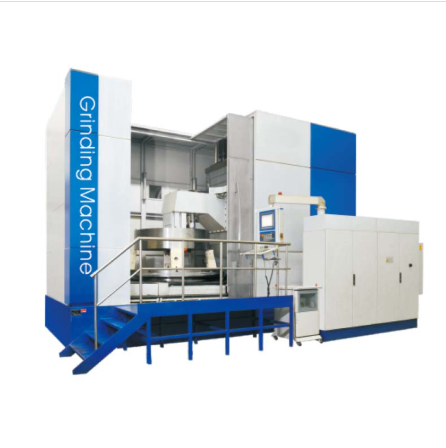
1. Preliminary Preparation
(1). Workpiece clamping and alignment
Select a suitable fixture (such as a center or chuck) according to the inner hole or shaft diameter of the gear, fix the workpiece on the workbench, and use a dial indicator or laser alignment instrument to correct the radial runout (≤0.002mm) and end face runout of the workpiece to ensure that the workpiece axis is coaxial with the machine tool spindle.
(2). Grinding wheel selection and installation
Select the grinding wheel type according to the gear material (steel, cast iron, etc.) and precision requirements (such as white corundum for hardened steel, cubic boron hydride for high-speed grinding). After the grinding wheel is installed, a dynamic balance test is required, and the balance block is used to adjust it to avoid vibration during high-speed rotation that affects processing.
2. Parameter Setting and Adjustment 1. Process Parameter Setting Grinding speed: set according to the grinding wheel material (e.g. resin bond grinding wheel is usually 30-50m/s) Feed rate: radial feed (0.005-0.02mm/stroke) and axial feed (adjusted according to tooth width) take the larger value for rough grinding and the smaller value for fine grinding. Development ratio: calculate the transmission ratio of the grinding wheel to the workpiece based on the gear module and helix angle to ensure the correct tooth shape. 2. Grinding wheel dressing
Use a diamond dresser to dress the grinding wheel according to the tooth profile parameters (involute, pressure angle). When dressing, the dressing speed and feed rate need to be set to ensure the accuracy of the grinding wheel profile.
3. Trial grinding and processing
(1). Trial grinding test
First, perform a single tooth trial grinding, use a gear measuring instrument to detect the tooth profile error and pitch deviation, and fine-tune the motion parameters or grinding wheel position based on the results.
(2). Formal processing
Start the cooling system (the cutting fluid must fully cover the grinding area) and automatically process according to the "dry run - feed grinding - indexing - cycle" process. Observe the grinding sparks and sounds during processing. If any abnormalities occur, stop the machine immediately for inspection (e.g., uneven sparks may indicate excessive feed).
4. Post-processing
(1). Workpiece detection
Use a three-coordinate measuring machine or gear tester to comprehensively test parameters such as tooth surface roughness (usually Ra0.8-0.1um is required), tooth direction error, etc. to confirm whether they meet the standards.
(2). Equipment maintenance
Clean the grinding wheel debris and cutting fluid residue, check the lubrication of the guide rails, and return the grinding wheel to a safe position before turning off the power.

 English
 Español
 Pусский
 Lily
Lily